Working with fabric, paper, or wood isn’t just about creativity and inspiration. Knowing the tools, methods, and processes that are involved can be just as important as deciding what to make. In this book, we’ll cover tools and techniques, and a little bit about workflow, to help you do your best work.
The Tools of the Trade
The right tool for the job. There’s the right tool for each material. Using the wrong tool can ruin your project or make it take longer, and the right tool will enable you to perform more intricate and accurate work.
Tools for Fabrics. Cutting, measuring, sewing, and finishing are the processes involved in fabric work. The basic tools are:
Scissors (very sharp) or a rotary cutter and mat for straight cuts
Pins, clips or weights to keep pieces steady
A measuring tape and ruler for precision
Hand or machine sewing needles and threads
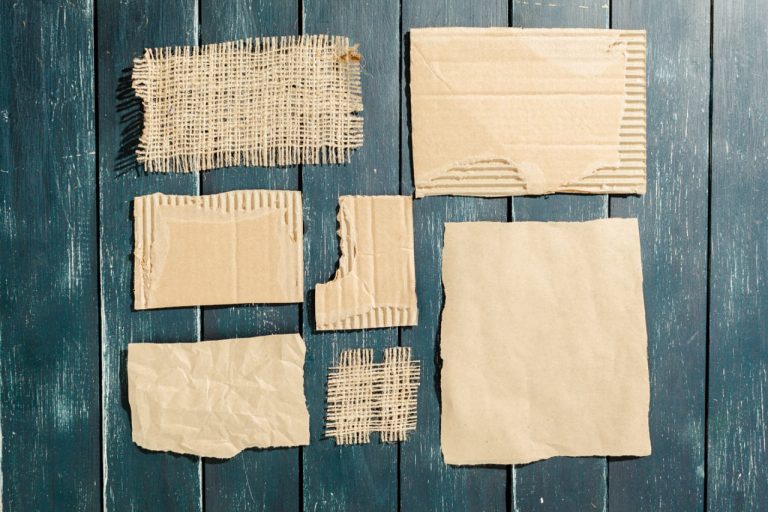
Tools for Paper: Because paper must be handled carefully to prevent it from tearing or creasing, special tools are necessary.
*Cutting mat and craft knife for cutting things up neatly
Bone folders for making sharp folds and creases
Rulers and grids to help with alignment
Adhesive, glue, or tape that works well with the weight of paper
Wood Tools Work with wood requires specific tools and safety.
Hand saws and chisels for rough shaping
Sandpaper or sanding blocks (for smooth finishes)
Assembly: Hammers, clamps, mallets
Precision marking gauge and other measuring tools for making precise joints
Using quality, safe, and appropriate tools is the starting point for ensuring consistency.
Mastering the Course Materials
Developing fundamental skills for each medium is essential to more complex endeavors. There are a series of skills for each medium that should be practiced on a regular basis.
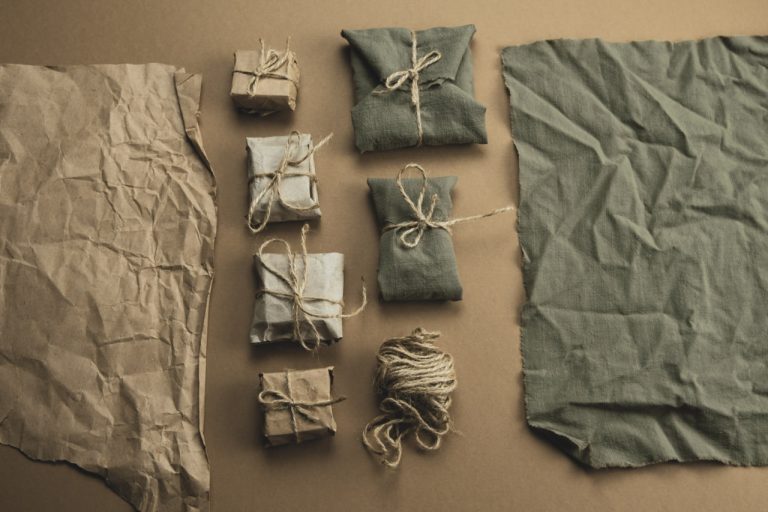
Also known as fabric manipulation, fabric techniques are a vast category of techniques that involve using your machine’s needles and thread to shape and sculpt fabric into various forms. Whether you’re gathering, pleating, smocking, or any of the other options, these techniques are all about creating dimension and visual interest with fabric. If you enjoy textile arts and playing with fabric, this is a great category to explore.
Cut with the grain to avoid warping
Hemming, folding and closing seams nicely
Managing stretch and tension to get the form right
Adding and mixing textures for extra visual interest
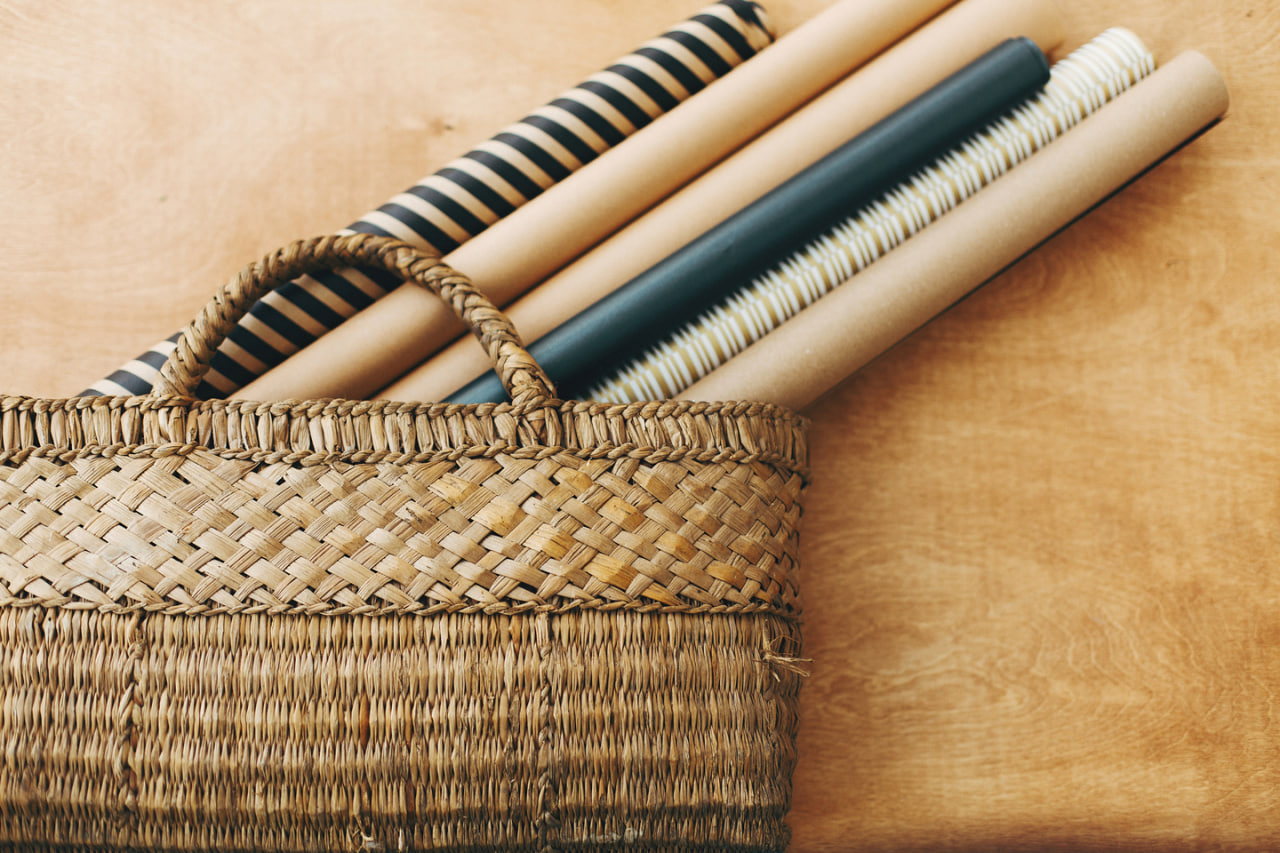
Methods with Paper
Now, folding with the grain for accuracy:
When folding card or thick paper it is often necessary to score the paper first
Layer, collage, and reinforce structure
Decorative edges, embossing, and cuts can be used for design purposes
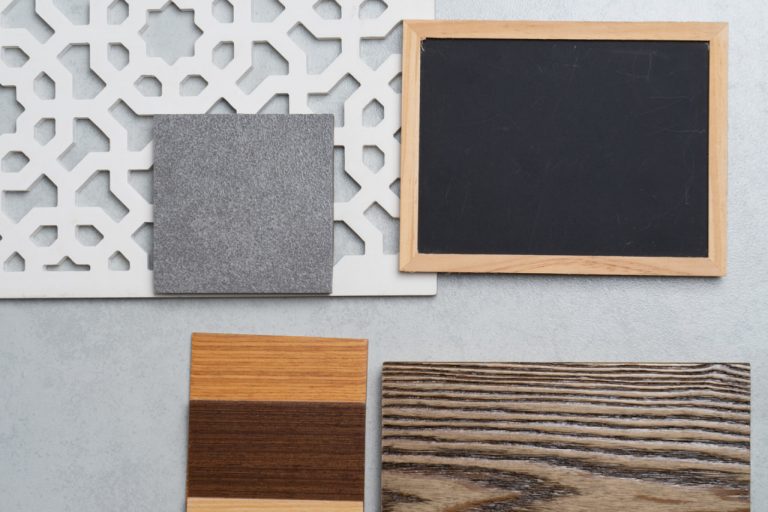
Carpentry Techniques
Grain direction cutting for a smoother finish
Coarse to fine grit sanding
Butt joints * Lap joints * Doweling
Finally, it may be finished with oils, waxes, or sealants to enhance durability and aesthetic appeal.
Practicing these activities helps to increase confidence and project quality.
Managing the Processes and Workflows
A good process saves you time and reduces errors. When you set up your work from beginning to end, all of the pieces reinforce each other.
Most of the time, you will know your project ahead of time. Even if it’s an enormous one, like moving into a new house, that is the extent of your project. However, some projects are actually smaller parts of bigger projects, which I call the Master Project.
It’s best to draw out plans and make templates before starting to cut anything
Double-check your measurements before making any cuts to avoid unnecessary waste
Gather all of the tools and space that you need before you start
Here are the steps in detail:
Splitting big tasks into smaller chunks
And work with a single material or medium at a time
Always perform tests on a small scale before working on your finished article
Finishing and Quality Control
Make sure to check your edges, seams, and joints for precision
Fix errors ASAP
Add finishes or reinforcements to increase longevity
Having a process minimizes mistakes, and it makes the creative process enjoyable.
Inter-material Technique Fusion
Many experienced crafters use a combination of fabric, paper, and wood within the same project. Knowing the properties of the materials and the techniques that can be used with each is crucial for success.
Use fabric if you need flexibility, paper if you need to go light, and wood if you need structure
Use adhesives and fasteners that are suitable for each type of material to avoid damaging the work
Do not complicate plan assembly by confusing the order of construction.
Skills that can be used across different materials will provide you with more options for crafting and give you a chance to test out some unique designs.
Common Mistakes and How to Avoid Them
Even veteran makers struggle sometimes. Knowing the typical issues will allow you to learn more quickly.
Blunt or wrong tools which results in rough edges or rips.
It assumes that materials are rigid, which means it can cause warpage or stretching.
Skip steps and not to take the time to follow the steps in the proper order
Not testing small samples prior to working on the larger object.
You can prevent these mistakes by observing, practicing and properly managing your workflow.
Creating Your Workflow
With time, you can always develop your own methods and procedures tailored to your way of working and the materials you use. Write down what works for you and what doesn’t, and adjust your procedures accordingly. In this way, you will have the best of both worlds: efficiency and individuality.